DIY IPTV Installation – Save Money and Set Up Your System in Hours

Switching to IPTV (Internet Protocol Television) offers an affordable and flexible alternative to traditional cable or satellite services. With a few tools and a straightforward process, anyone can establish an IPTV setup within a few hours, eliminating the need for costly professional installations.
The guide below outlines everything required for a successful DIY IPTV installation, from gathering essential components to configuring the system.
Essential Components for IPTV Setup

Source: bloodsoaked.net
Before starting the setup, gathering the necessary tools ensures a smoother process. If you choose Nordic IPTV, for example, here’s what you’ll need:
1. Stable Internet Connection
A reliable internet connection is crucial. For uninterrupted streaming, aim for:
- Standard Definition (SD): At least 10 Mbps
- High Definition (HD): 15-25 Mbps
- Ultra High Definition (4K): 25+ Mbps
Consider using a wired Ethernet connection for greater stability over Wi-Fi.
2. IPTV Subscription Service
An IPTV subscription from a reputable provider is required. Many providers offer packages catering to specific needs, such as sports, movies, or international channels. Reviewing ratings and customer feedback helps in selecting a reliable service.
3. Compatible Device
IPTV streams can be accessed on various devices, including:
- Smart TVs: Built-in apps or app store downloads.
- Streaming Devices: Firestick, Roku, or Apple TV.
- Android TV Boxes: Compact, cost-effective options for non-smart TVs.
- Computers and Mobile Devices: Accessed through apps like VLC Player or IPTV Smarters.
4. IPTV Player Application
An IPTV player organizes and plays the provided content. Popular options include:
- TiviMate
- IPTV Smarters Pro
- Perfect Player
Many apps allow playlist customization, electronic program guides (EPGs), and content bookmarking.
Step-by-Step IPTV Installation

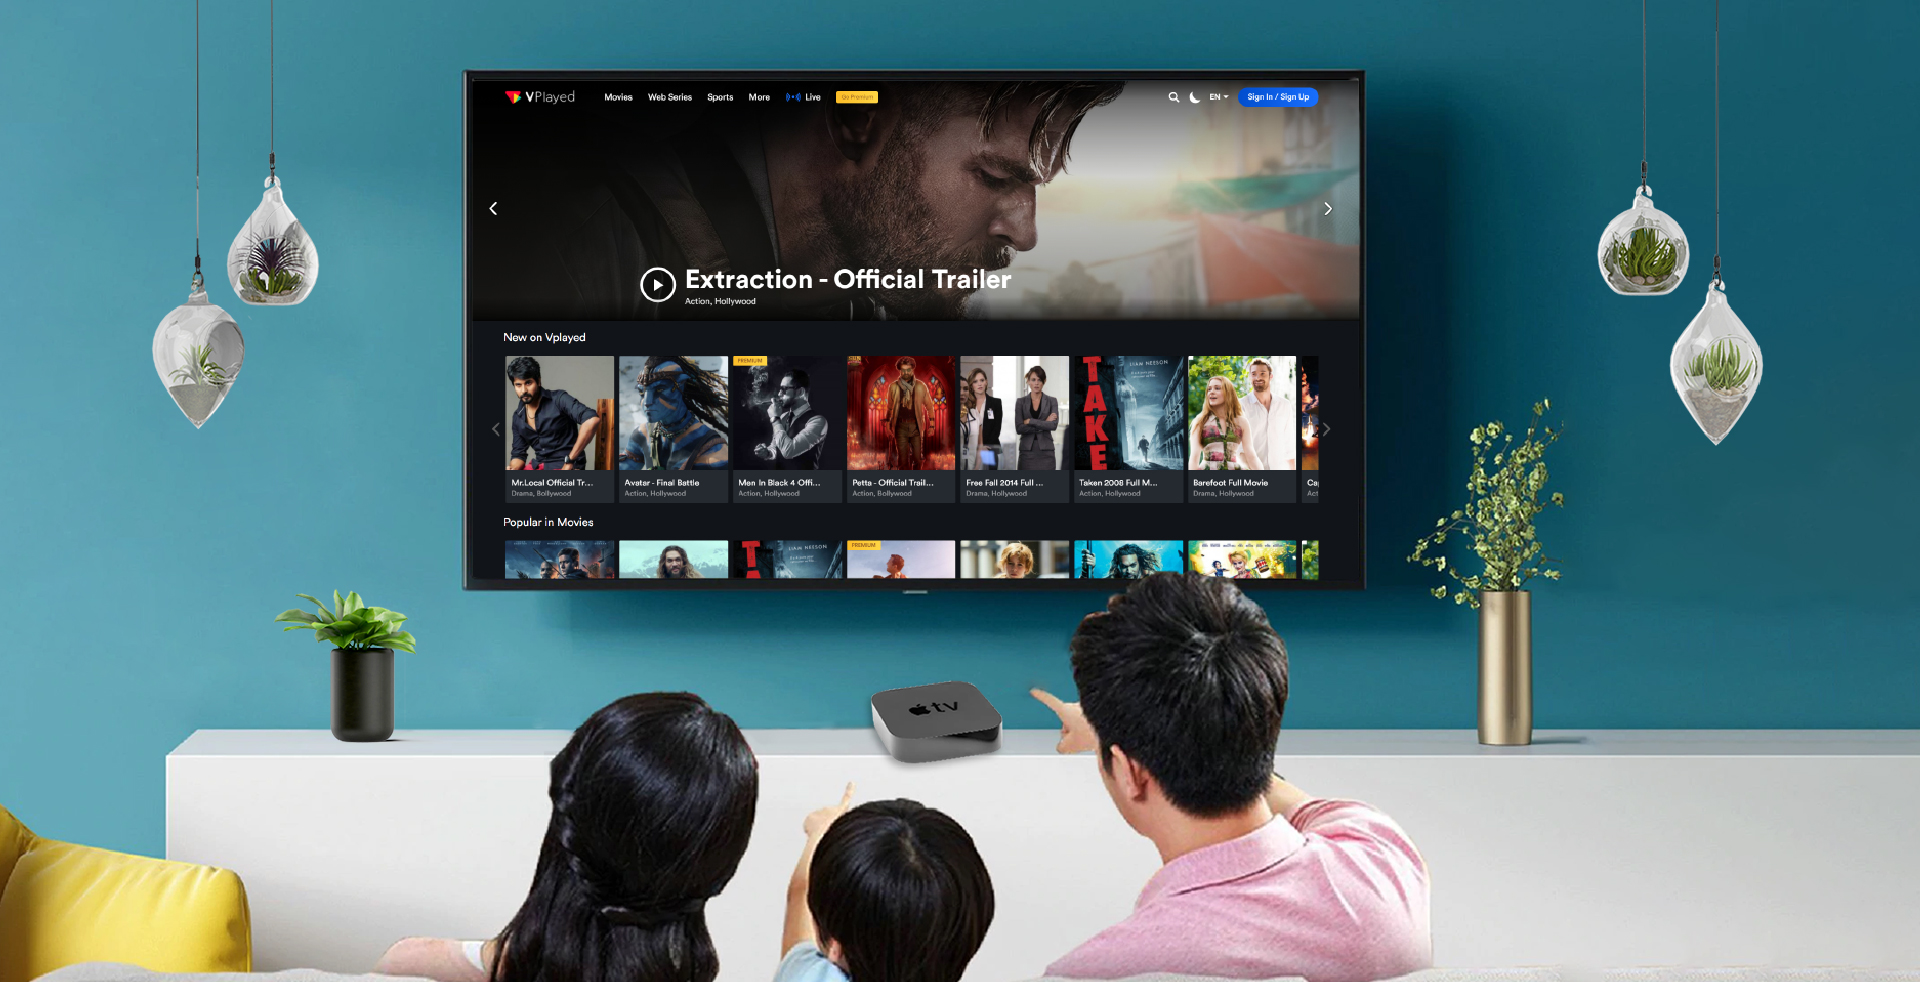
Source: vplayed.com
Step 1: Installing the IPTV Player
Choose a compatible device and download an IPTV player application.
- On Smart TVs, navigate to the app store and search for the desired player.
- For devices like Firestick, access the Amazon App Store or sideload apps if unavailable.
- Android TV Boxes and smartphones can download apps directly from the Play Store or similar platforms.
Step 2: Adding the IPTV Playlist
After installing the player, open it and locate the option to add a playlist or enter an M3U URL.
- An IPTV provider supplies this playlist link or file.
- Input the URL or upload the file into the app. Double-check the details to avoid errors.
Step 3: Customizing Channels
Organizing the playlist enhances usability. Options often include:
- Grouping channels by category (sports, news, movies).
- Removing unnecessary or duplicate channels.
- Adding favorites for quick access.
Optimizing the IPTV Experience

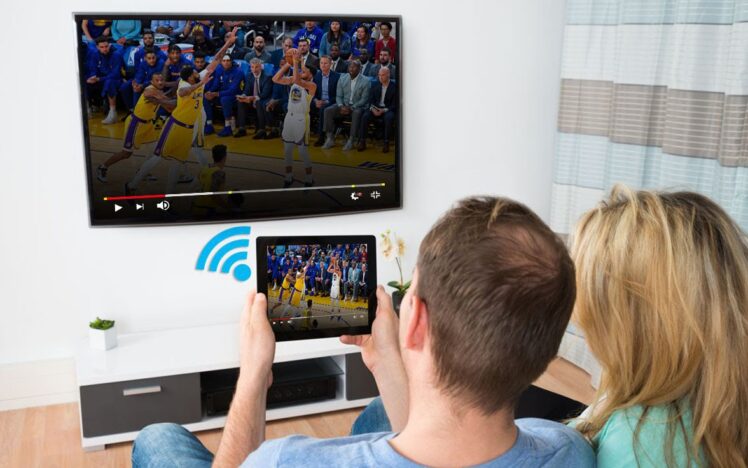
Source: thebusinessanalytics.co.uk
Once the system is operational, certain steps can improve the overall experience.
Enhancing the Connection
Use a wired connection instead of Wi-Fi for stable streaming. Minimize bandwidth usage by closing other apps and limiting simultaneous device usage.
Exploring Advanced Features
- EPG Integration: Offers a schedule view for live content.
- Video on Demand (VOD): Access movies and shows outside the live channel lineup.
- Multiple Profiles: Customize content for different users on shared accounts.
Using VPNs for Privacy
While not mandatory, a Virtual Private Network (VPN) enhances privacy and bypasses potential ISP restrictions.
Closing Thoughts
DIY IPTV installation is an effective way to save money while gaining access to a versatile entertainment system. By following simple steps, a functional setup can be achieved in a short time.


