The Right Order for Kitchen Remodeling ─ Avoiding Chaos in Your Renovation
The process of transforming a kitchen requires careful planning to avoid costly mistakes. It can become overwhelming if the tasks are done out of sequence. An efficient approach ensures the project stays on track, time and costs remain manageable, and the final result aligns with expectations.
Whether tackling a small update or a full-scale renovation, the steps should be organized in a specific order to ensure a smooth, cost-effective, and functional outcome.
Planning the right order for a kitchen remodeling project is essential for achieving success. Let’s break down the key steps to ensure efficiency and avoid unnecessary chaos.
Key Points:
- Start with the demolition phase.
- Move on to the plumbing and electrical setup.
- Install the flooring next.
- Cabinets follow after the flooring.
- Countertops are the next phase.
- Finally, appliances and fixtures are added.
1. Initial Phase ─ Demolition
The first step in any successful kitchen remodeling project is demolition. All elements in the current layout that will be replaced or upgraded need to be removed. This includes cabinets, countertops, flooring, and sometimes walls. It’s important to plan for this stage properly, ensuring safety measures are followed and debris is disposed of efficiently.
OCA Builders specializes in comprehensive construction solutions, including the kitchen remodeling, which makes them a trusted partner during this phase. Their experience ensures proper coordination from the start, laying a solid foundation for the rest of the project.

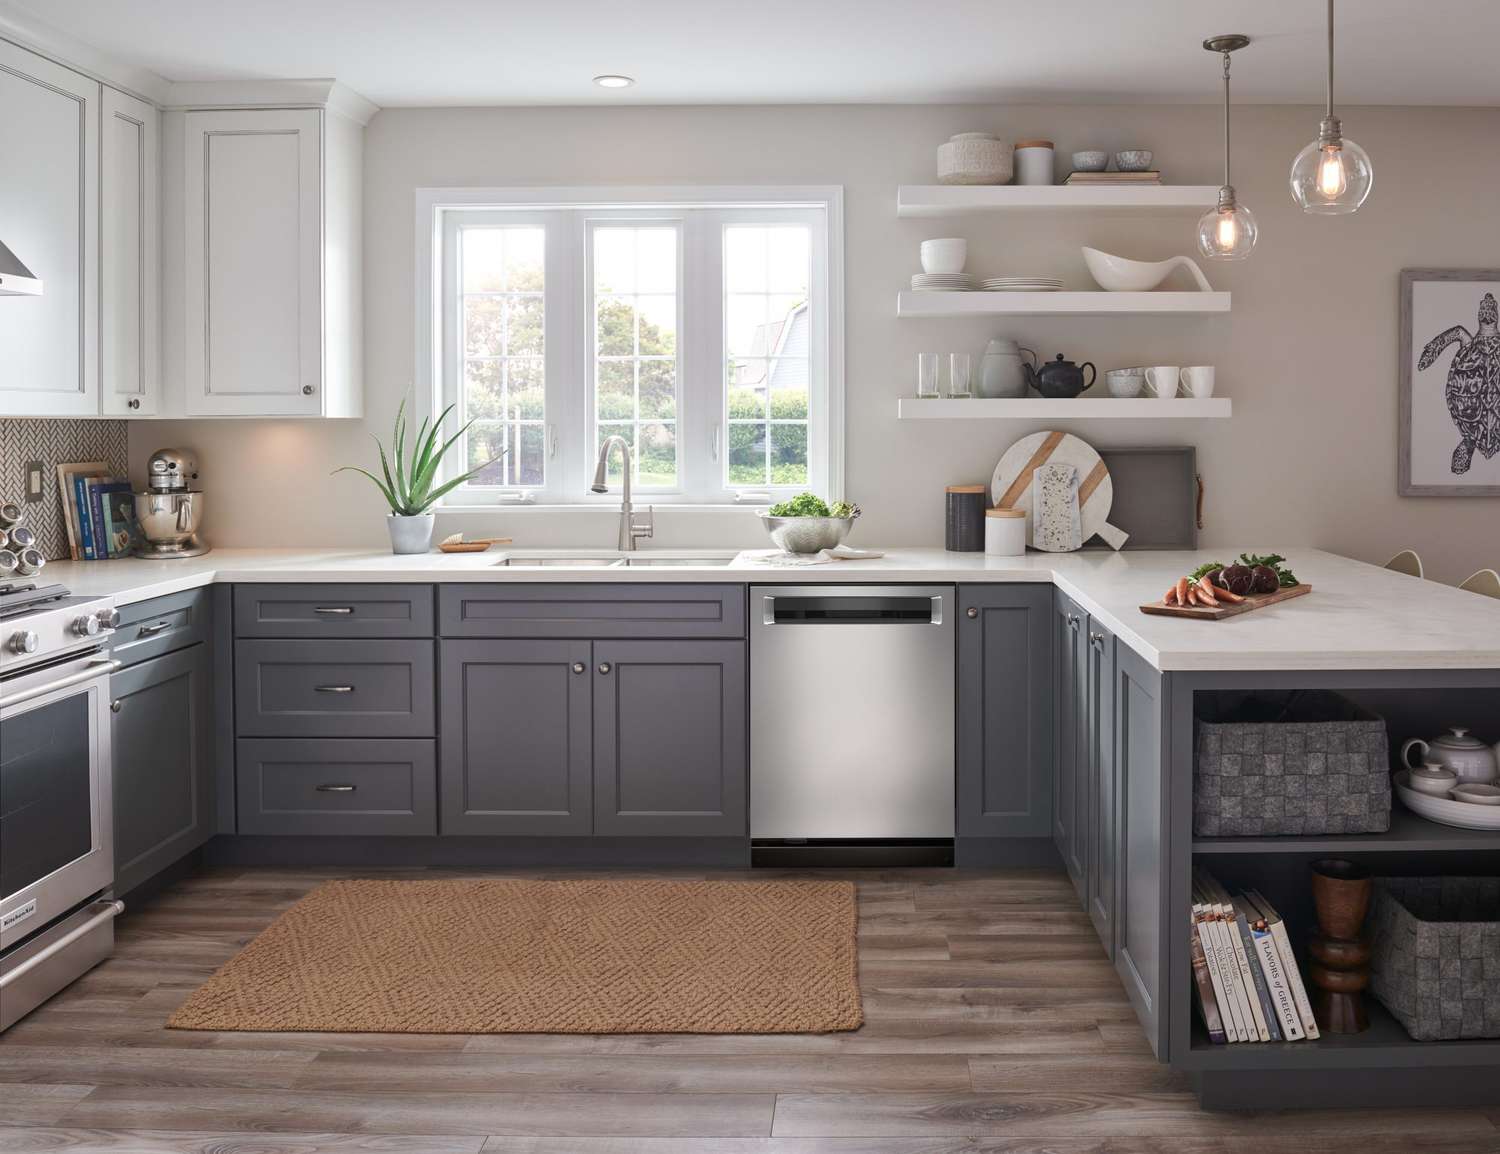
Source: whirlpool.com
2. Plumbing and Electrical Setup
Once the demolition is complete, the next step is setting up the plumbing and electrical systems. Further installation processes will become complicated without addressing these critical aspects early on. It’s essential to map out where the new water lines, gas lines, and electrical outlets need to go based on the new design.
This step demands precision because any mistakes here will cause significant delays later. Professional assistance is recommended to ensure the job is up to code, reducing the chances of needing costly repairs or adjustments in the future.
3. Flooring Installation
The flooring should come next in the order. By tackling the floor at this point, you avoid the risk of damaging newly installed cabinetry or appliances. The choice of materials should align with both the kitchen’s aesthetic and practical needs. Durable and water-resistant options work best for areas prone to spills and wear.
Care should also be taken to ensure that the floor is level. This step is crucial to ensuring that the cabinets and appliances, which will be installed afterward, sit properly and securely.
4. Cabinet Installation
Now is the time for the cabinets. Installing the cabinets at this stage allows you to have a framework in place for the remaining components. It’s essential to ensure they are mounted correctly to avoid structural problems later.
If custom cabinets are part of the design, ensure their measurements are precise. Precision here guarantees that everything fits perfectly when the countertops and appliances are added.

Source: butterflykitchens.com
5. Countertops
The next step is installing the countertops. Measuring is key here, and it’s crucial to ensure that the counters sit properly on the cabinets. Since countertops are often custom-cut, any changes to the layout at this point will result in delays and additional costs.
Countertops should be both functional and durable, fitting into the overall design of the kitchen. Whether stone, quartz, or wood, each material comes with its advantages, and the choice should reflect both aesthetic and practical considerations.
6. Adding Appliances and Fixtures
Appliances should always be the final step in the kitchen renovation process. By leaving them until last, there’s less risk of damaging them during the construction phases. Once all appliances are placed, fixtures like sinks and faucets can be installed.
Installing appliances last also ensures that they fit properly within the design. It gives you the chance to make final adjustments based on how the layout comes together.
Final Check and Completion
After the appliances are in place, a final inspection should be done to ensure everything is in working order. Any minor issues or last-minute adjustments can be addressed at this stage before calling the project complete. A kitchen remodeling project is never finished until it meets the homeowner’s standards, and a final walkthrough is the best way to confirm satisfaction.

Source: whirlpool.com
Conclusion
Kitchen renovation projects require careful planning and the right sequence of steps to avoid delays and unnecessary expenses. Starting with demolition, followed by plumbing and electrical setup, then moving on to flooring, cabinetry, countertops, and finally appliances, ensures efficiency and prevents chaos.
Planning and execution in the correct order will allow for a smoother workflow, saving both time and money. Working with professionals can make a significant difference, ensuring top-tier craftsmanship and timely project completion. They bring expertise to every step of the project, helping homeowners avoid common pitfalls.